
Decoupage Basics
Decoupage is French for "covering" and that's exactly what you'll do when you make a decoupage craft or gift.
You'll cut out pictures, apply them to the surface of a box, cup, chest, plate or any other piece that will accept glue, then paint on a few coats of varnish to seal it.
If you want the finished piece to be as smooth as possible, choose paper cutouts from prints made on paper that's very thin and flexible - as thin as possible. The printing papers used in magazines, disposable napkins and gift wrap are ideal for creating smooth finishes on your decoupage crafts.
You can use thicker materials and even non paper flat items to create your decoupage pieces if you wish. Your final results will have some texture that can be just as interesting and beautiful as a smooth finish.
Mod Podge Decoupage Adhesives
Water soluble, safe, and easy to apply, the popular Mod Podge line of decoupage adhesives dries quickly and cleans up easily.
These easy to use glues are available in assorted size bottles, from pint to gallons, plus specialty spray finishes to enhance all types of decoupage.
Matte Finish Mod Podge
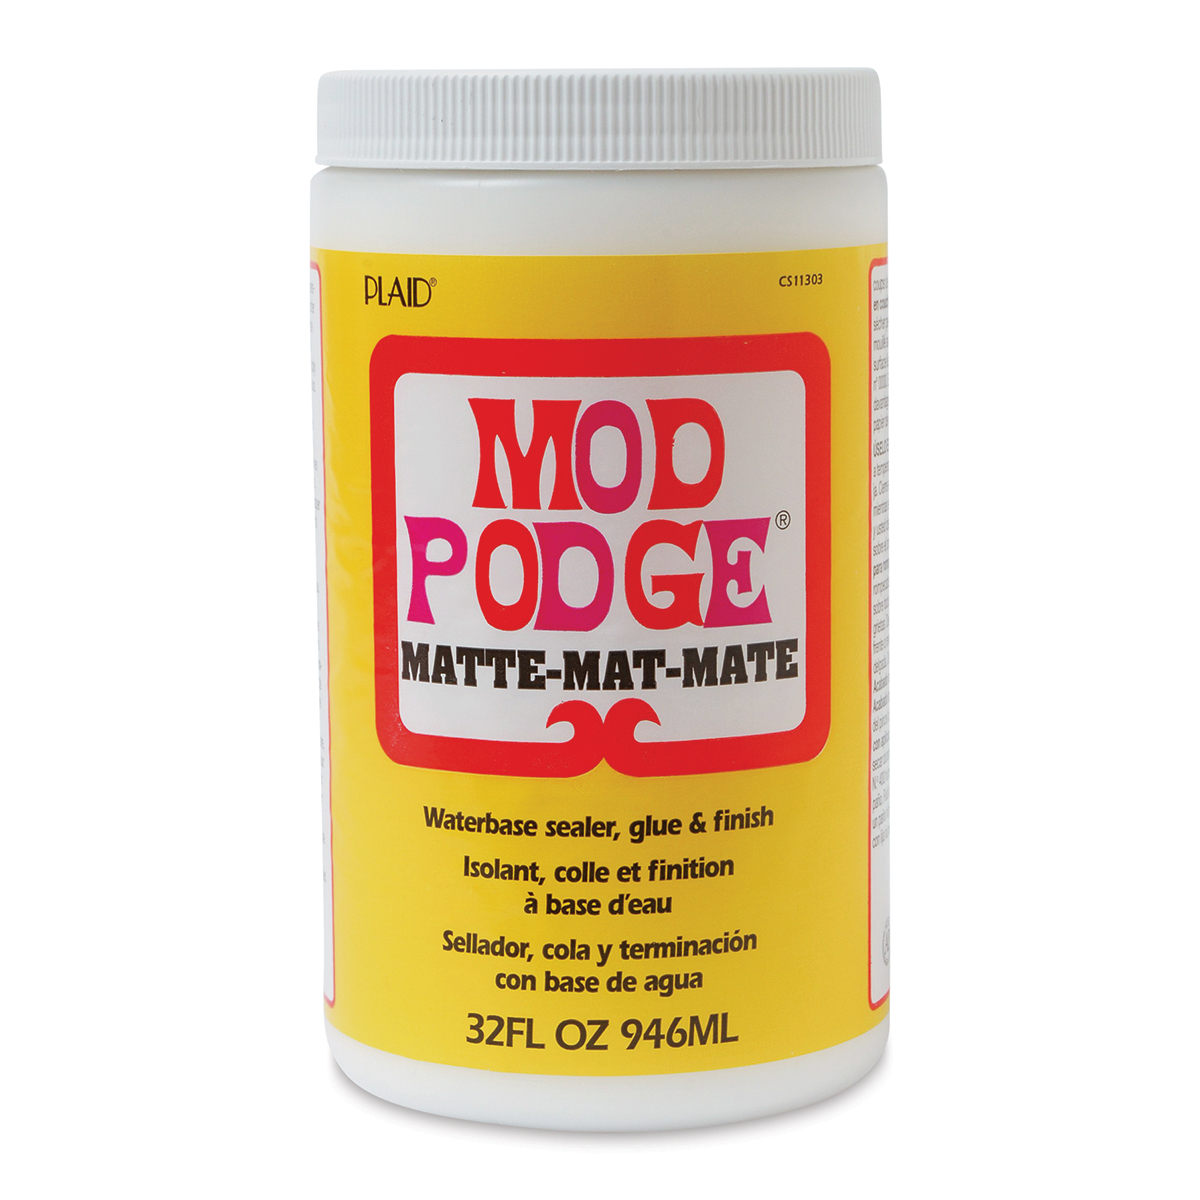
Plaid Mod Podge - Matte Finish, Quart
Gloss Finish Mod Podge
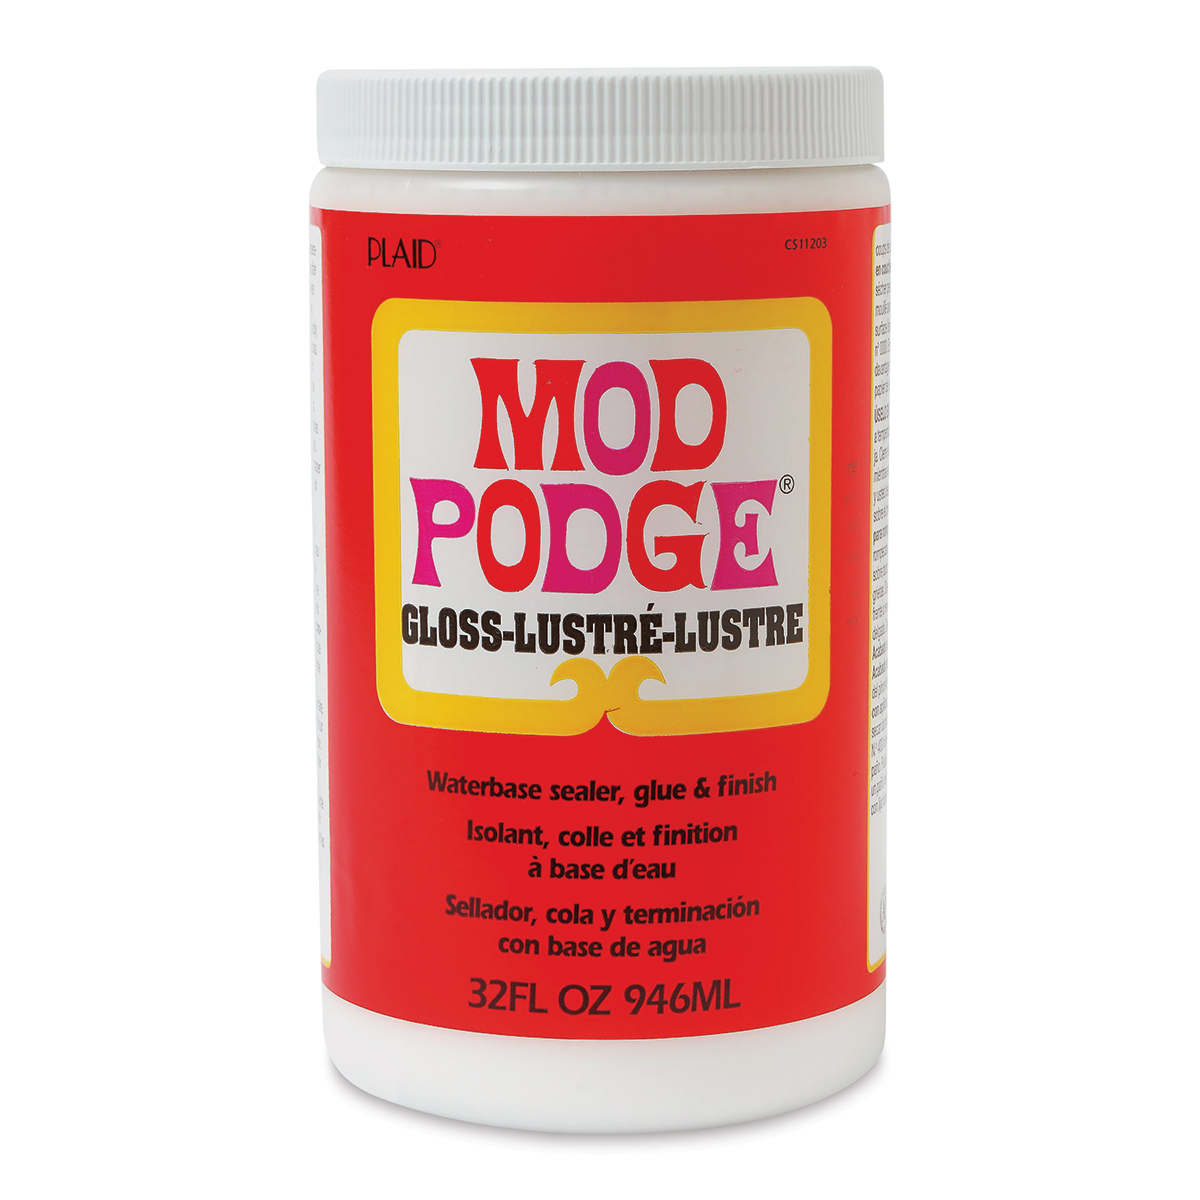
Plaid Mod Podge - Gloss Finish, Quart
Deciding What to Cover
Once you've gathered a collection of materials for decoupage crafts, you need to decide what type of object you want to cover.
Popular decoupage craft pieces are made from large or small containers, furniture, art papers and canvas.
Decoupage is Like 3D Collage
There's really no limit to what you can use for your decoupage base, so long as you can apply glue to the surface and add a protective varnish or clear coat finish (except for paper or artistic pieces).
Ideas for What to Decorate
Here are some ideas for decoupage objects you can use. If you use old papers and pictures from books, magazines or gift wrap and apply them to a recycled item, you're making your project totally green!
Boxes - wooden boxes, cardboard boxes, paper mache boxes, even some plastic boxes.
Frames - picture frames, mirror frames, window and door frames
Furniture - drawer fronts and tops, table tops, chair backs
Scrapbooks / Photo Albums / Journals - create a one of a kind front cover
Decorating Accents - lamps, vases, clock cases, curio cabinets, shelves, racks
Bottles / Jars - create fancy storage jars by applying cutouts to glass containers
You can also do decoupage-style crafting to decorate items you won't need or want to varnish.
This takes your design more into the realm of collage art or paper crafting, but try adding cutouts to these materials:
Art Boards / Canvas - choose Bristol board, Masonite, canvas board or mounted canvas. If you're adventurous, try flat artist canvas.
Craft Papers / Stationery Sheets - Add borders or embellishments to the top, bottom or edge of fancy heavy-weight papers to make layered writing papers
Blank Greeting Cards / Note Pads / Card Stock - choose heavier weights that can hold a couple layers of glue and applied pictures or decals. Fancy cards and journals made this way sell for more than ten dollars in gift shops.

Materials and Supplies for Decoupage Crafts
You can purchase cutouts, or you can make your own from a wide variety of paper sources:
- Greeting cards - cut out images from old cards that you've saved or purchased at tag sales and flea markets
- Fabric - from old clothing, linens, or the scrap basket
- Wrapping paper - save paper from gifts that you've opened, or buy it new
- Photos - use actual photo prints or print out copies of your favorite pictures onto regular
paper using your computer.
You can use your own snapshots, vintage photos you find online, commercial clip art photos, or photos and public domain images you discover on the Internet. - Maps and Map Prints - Old or new maps, or map prints from clip art and online sources
- Wallpaper - Use wallpaper scraps from your home, or buy leftover rolls at discount stores.
- Vintage Book Pages - pictures or text, or a combination of both
- Sheet Music Prints - Use song titles or cut out sections of music bars
- Stickers / Labels - new or old, big and small
- Stamps - used postage stamps or foreign stamps from collections
- Magazines/Newspapers/Booklets - Cut out images from old magazines or newspapers, handbooks
- Telephone Books - Find some interesting pictures in the white or yellow pages
- Scrapbook Paper - Check out paper craft stock sheets or printable papers for many different designs
- Dry Leaves/Flowers - Flatten and dry thin leaves and flowers without stems in the pages of a book, layered with paper towels.
- Labels - carefully remove wine bottle labels and interesting food labels from jars or cans and dry flat
- Ticket Stubs/Receipts - Flatten (iron if necessary) before using
Get Fancy ... Sparkle Finish Mod Podge Liquid Sealer
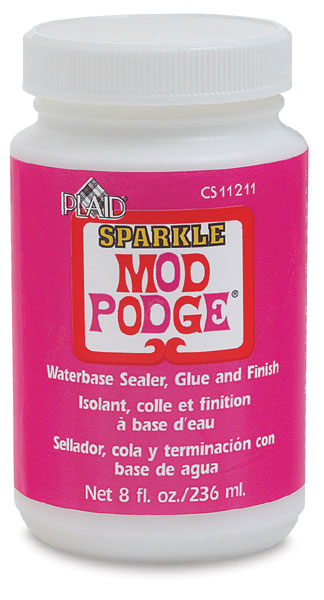
Plaid Mod Podge - Sparkle Finish, 8 oz bottle
The Big Book of Mod Podge
Big Book of Mod Podge - Paperback
Starting Your Decoupage Project
Now you're ready to begin your decoupage project.
Choose and trim your cutouts and flat items, arranging them on your base piece without glue. When you've decided on a pleasing design, apply glue to the base piece and to the items, then place pieces one by one onto the glue-covered surface. You can overlap or space cutouts apart. I like to overlap and combine my pieces with bits of lace or trims from my sewing scrap box.
Allow your decoupage to dry thoroughly - at least 24 hours - then apply a coat of clear sealer/varnish or in the case of paper pieces, a light coating of clear spray coating. For paper pieces and art board decoupage work, you can omit using a finish coating.
Allow the piece to dry again for at least 24 hours until the seal coat is hard. If you're applying decoupage on wood, paper mache or furniture, you may prefer to use poly varnish and to lightly sand the surface between coats. Don't sand the final coat.)
Apply as many coats of sealer as you need. The more top coats you add, the thicker the finish. When your final sealant coat is completely dry, admire your work - it's ready to enjoy or present as a crafty green gift.